Footprint — overview
Footprint charts show how much volume traded at each price inside a single candle and whether buyers or sellers were more aggressive at every price level. The microstructure view that turns each candle from a 4-number summary into a 50-row trade map.
A footprint chart (also called a cluster chart or numbers chart) replaces each candle's body with a column of price-by-price trade information. Instead of seeing only open, high, low, close, you see how much volume traded at every price level inside that candle, and — when split — whether buyers or sellers were the more aggressive side at each level. This is the chart professional flow traders read when they want microstructure detail, not just OHLC.
In the Chart Terminal, Footprint is one of the chart-type options (Chart types). Once switched on, every candle on the chart becomes a stack of cells; the rest of the terminal (timeframes, drawings, indicators, side panel, bottom panel) continues to work exactly the same.
Why use it
| Question the trader asks | What the footprint answers |
|---|---|
| Where did most trading actually occur inside this candle? | Point of Control (POC) — the highest-volume row in the bar. |
| Who was in control of price during this candle? | Bid-initiated vs ask-initiated volume per price (Bid×Ask), or net delta per price (Delta). |
| Was one side dominant for several consecutive prices? | Stacked imbalance overlay — tints and bracket markers on the candle. |
| Does this candle look strong or hollow? | Relating close location to where volume and delta concentrated within the bar. |
| Did aggressive flow lead price, or follow it? | Reading the Bid×Ask split row-by-row from low to high. |
Footprints are common in futures, crypto, and short-term trading because that is where order-flow microstructure makes the difference between a winning trade and a coin-toss.
Core concepts
Price rows
Each horizontal row inside a candle is a price bin (width = the chart's tick size, or an aggregated step when the chart zooms out). Every trade that prints inside that bin contributes to the numbers shown.
Bid-initiated vs ask-initiated volume
- Bid-initiated (often labelled "bid" in the chart engine) — volume from aggressive buyers lifting the offer. Goes on the right side of the cell in Bid×Ask mode.
- Ask-initiated ("ask") — volume from aggressive sellers hitting the bid. Goes on the left side of the cell.
These are the two numbers that matter at every price level. The rest of the footprint is just how the chart chooses to render them.
Delta (per level and per bar)
Per-level delta is bid-initiated minus ask-initiated volume:
[ \Delta_{\text{level}} = V_{\text{bid-initiated}} - V_{\text{ask-initiated}} ]
Positive = aggressive buying at that price. Negative = aggressive selling. Bar delta is the sum across every level in the candle.
Point of Control (POC)
The POC is the price level with the largest total volume inside that bar (bid + ask combined). It marks where the auction spent the most size. Traders watch whether the next bars respect the prior bar's POC as support or resistance — if they do, the auction is acknowledging the level as fair value; if price chops straight through, the level was not significant.
Imbalance
An imbalance is when one side of trading is many times larger than the other at the same or adjacent price level. A single imbalanced row is common and unremarkable. Stacked imbalances — several consecutive imbalanced rows in the same direction — are the meaningful pattern. The chart can detect these automatically and overlay them as tints, brackets, and optional retest rays. See Stacked Imbalances.
Footprint vs candlestick
| Candlestick | Footprint | |
|---|---|---|
| Data per bar | OHLC + total volume | OHLC + total volume + volume at every price inside the bar |
| Strength | Pattern + structure read at a glance | Microstructure inside each bar |
| Best use | Higher-timeframe context, swing structure | Intra-bar timing, absorption, exhaustion, level retests |
| Compatible with | Indicators, drawings, layouts, alerts | Same — footprint is a chart type, not a different chart |
You still anchor on trend, levels, and higher-timeframe context. The footprint adds execution-level detail for timing and validation — it is additive, not a replacement.
Who this group is for
Anyone in the Chart Terminal who wants to read order flow at the candle-row level — scalpers, intraday flow traders, swing traders working entries off retests. If you don't currently trade off candles, you probably don't need Footprint — start with the chart-types overview and come back when you need more granularity than candles give you.
The four levers
| Lever | What it controls | Page |
|---|---|---|
| Display mode | Bid×Ask vs Delta vs Volume (Mono / Delta-tinted) — the same data, three lenses. | Display modes |
| Settings | Cell palette, font size, volume unit, volume colouring, detection parameters, overlay visibility. | Settings |
| Detection | What counts as a stacked imbalance (ratio, mode, min rows, max age). | Stacked Imbalances |
| Signal overlays | ABS / IMB / DIV / EXH / UA / HVN tags on top of cells. | Signals |
Pick a display mode, set detection conservatively, decide whether to show signal overlays — that is the entire surface.
What's next
- Display modes — Bid×Ask, Delta, Volume (Mono + Delta-tinted), side profile, delta strip.
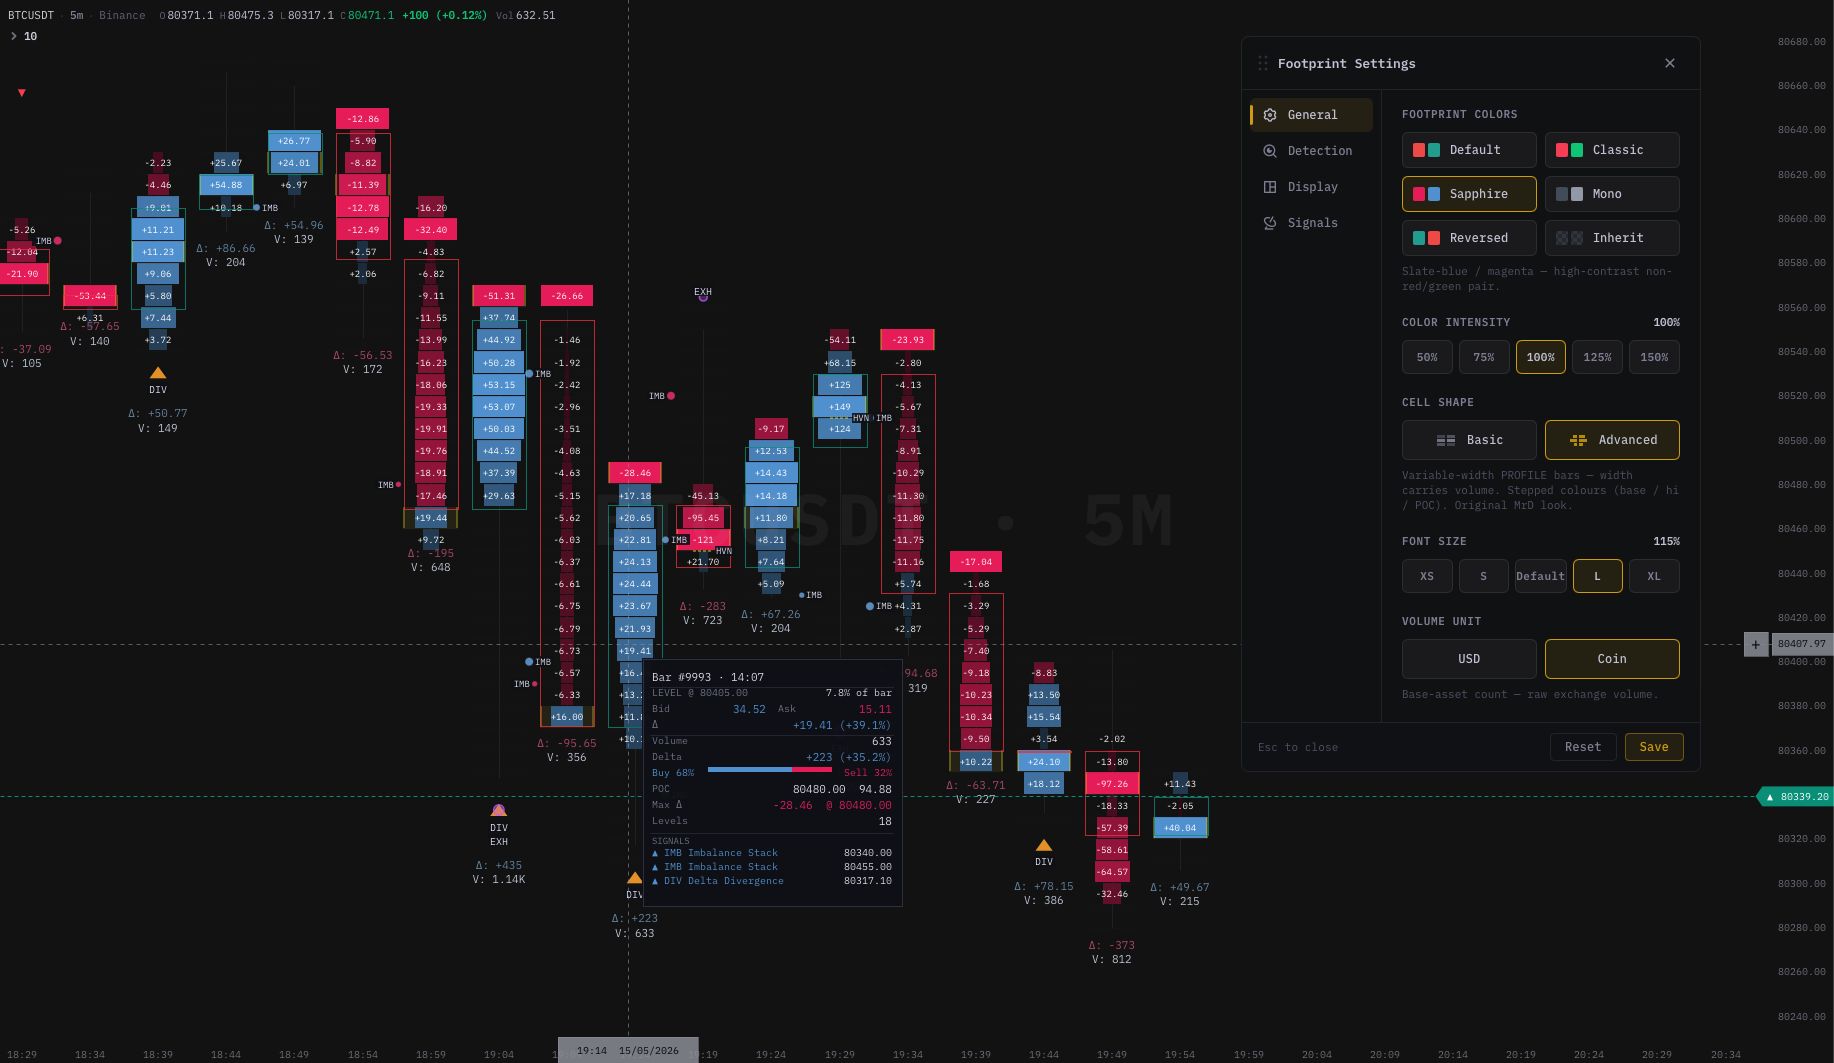
- Footprint Settings — every option in the Settings dialog.
- Stacked Imbalances — cell tints, brackets, retest rays, detection controls.
- Signal markers — what ABS / IMB / DIV / EXH / UA / HVN mean.
- Reading & analysis — step-by-step workflow.
- Tips & best practices — tick size, zoom, common mistakes.
- Chart types — switching between candles, footprint, heikin-ashi, etc.
- Orderbook Heatmap — the resting-liquidity overlay that pairs well with the footprint's traded-volume view.